macOS First Start and Enrollment Guide
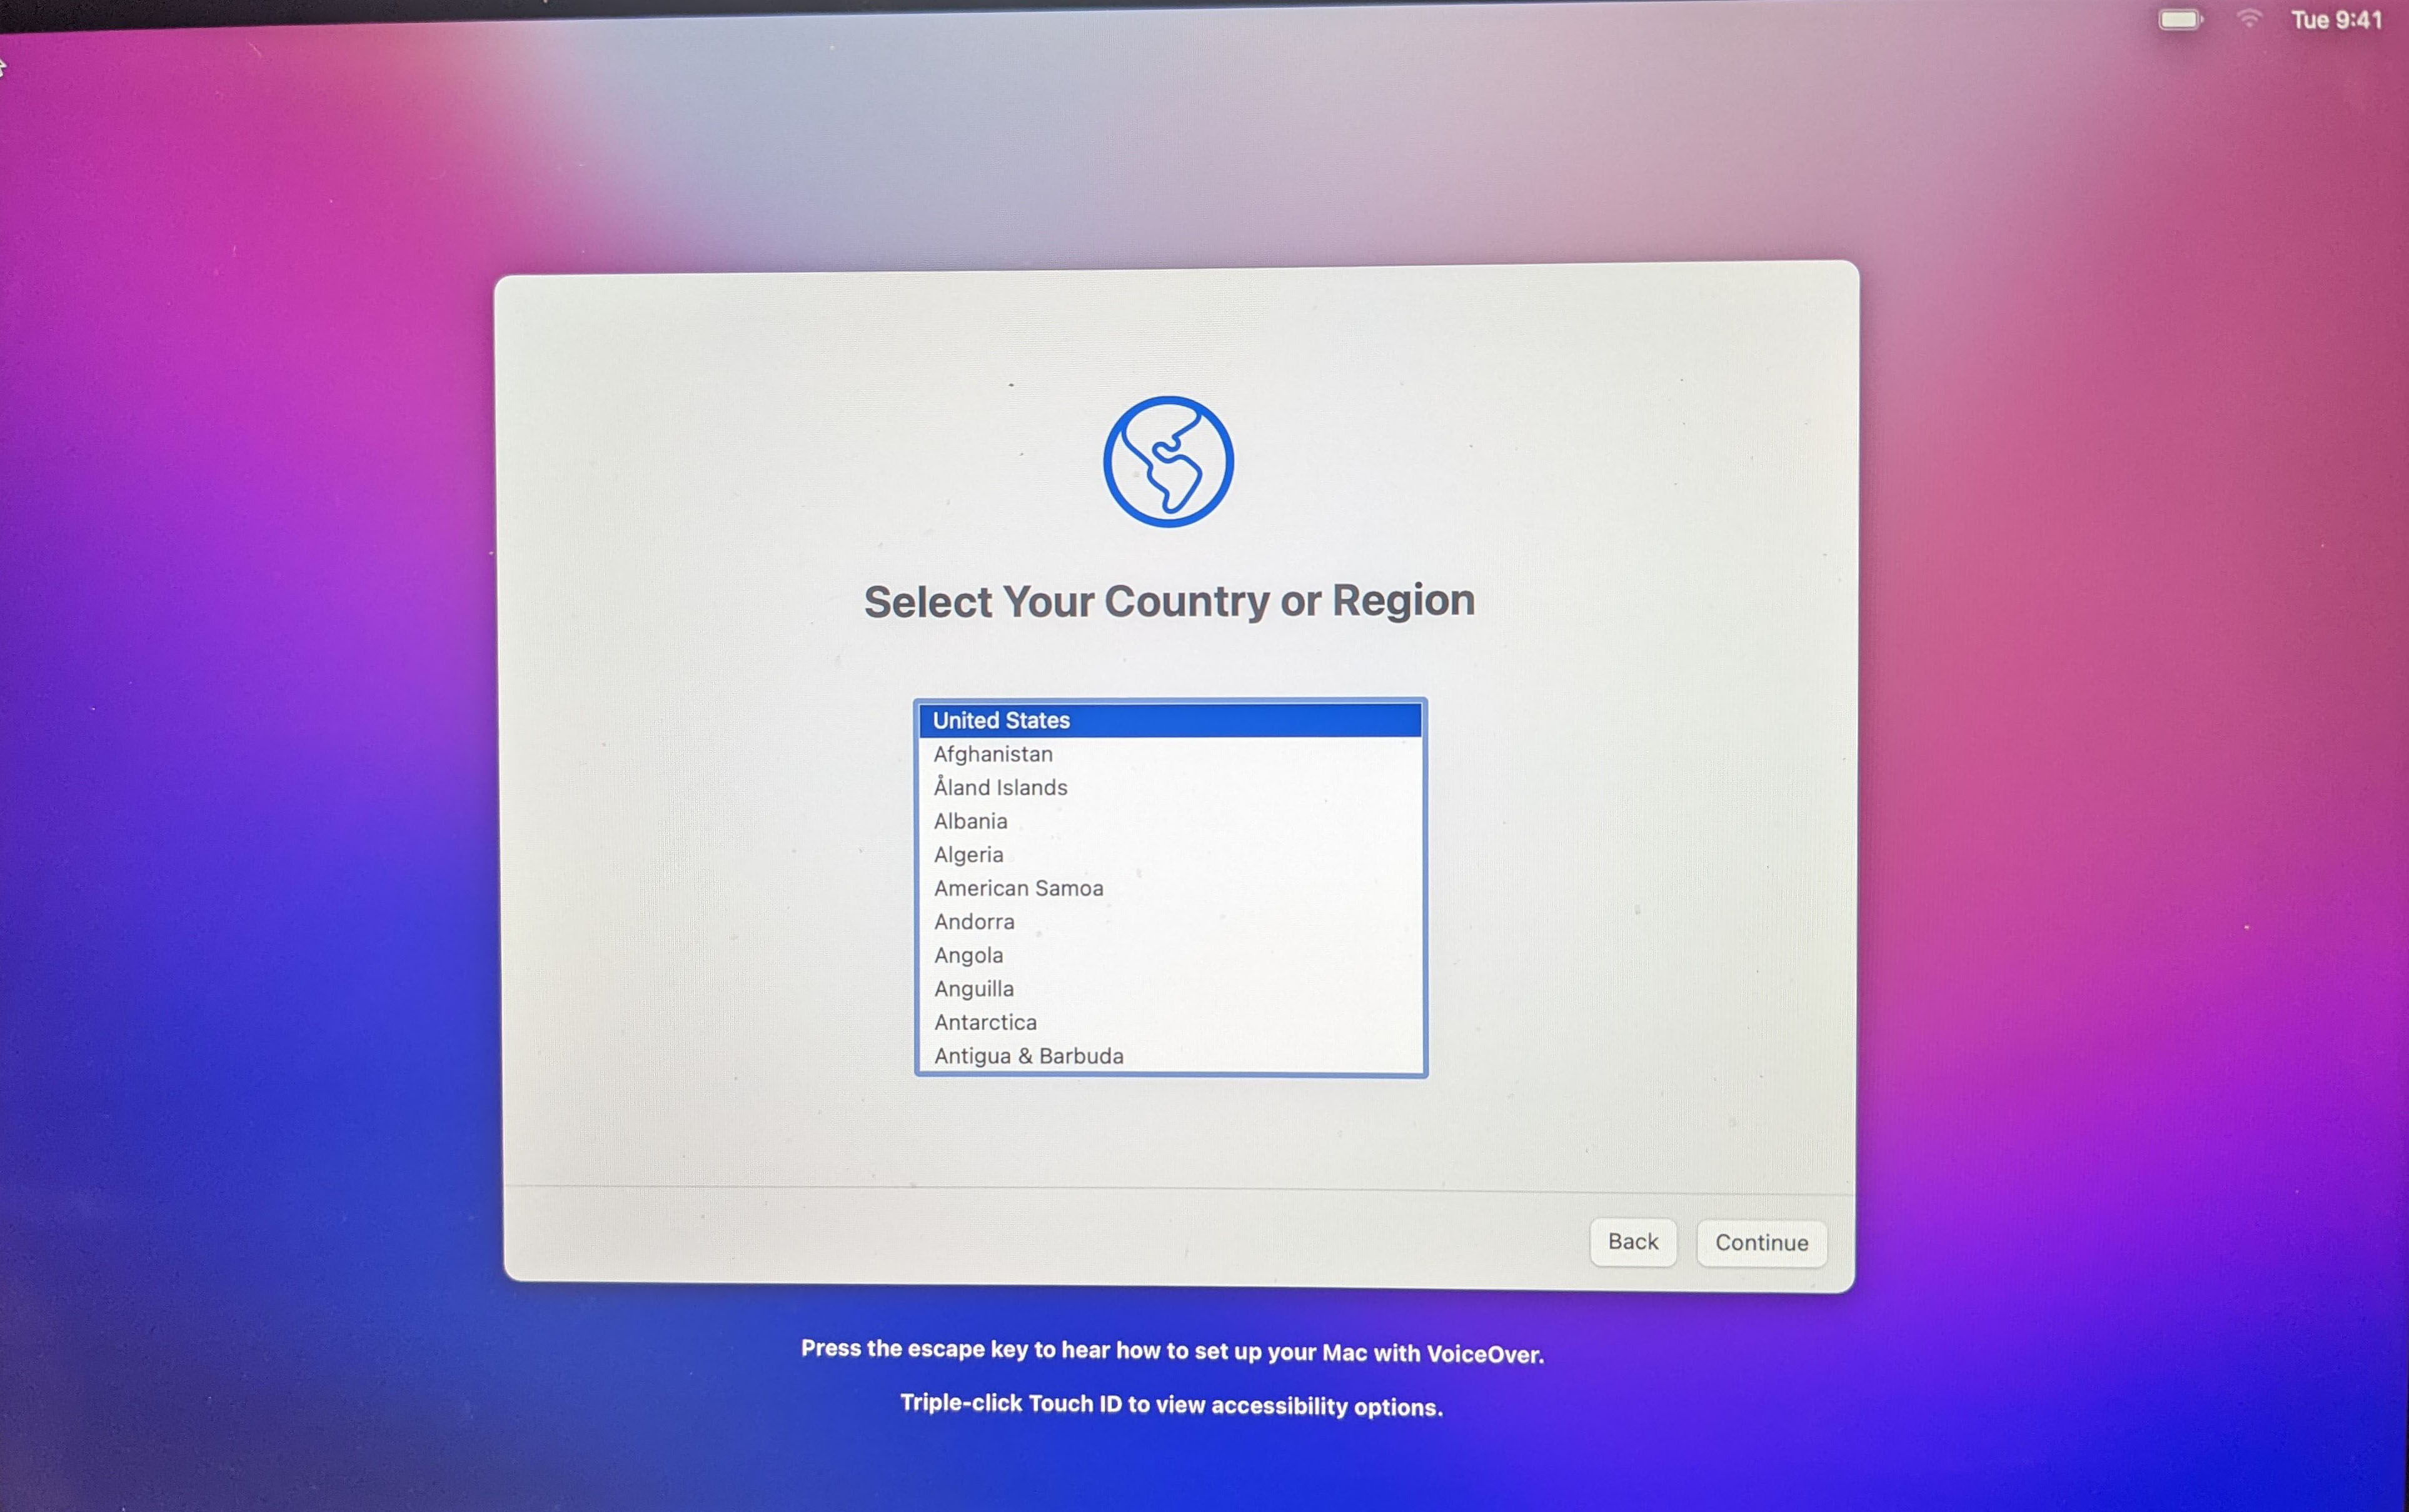
On starting your Mac, you will be asked to "Select Your Country or Region".
Select United States and click Continue.
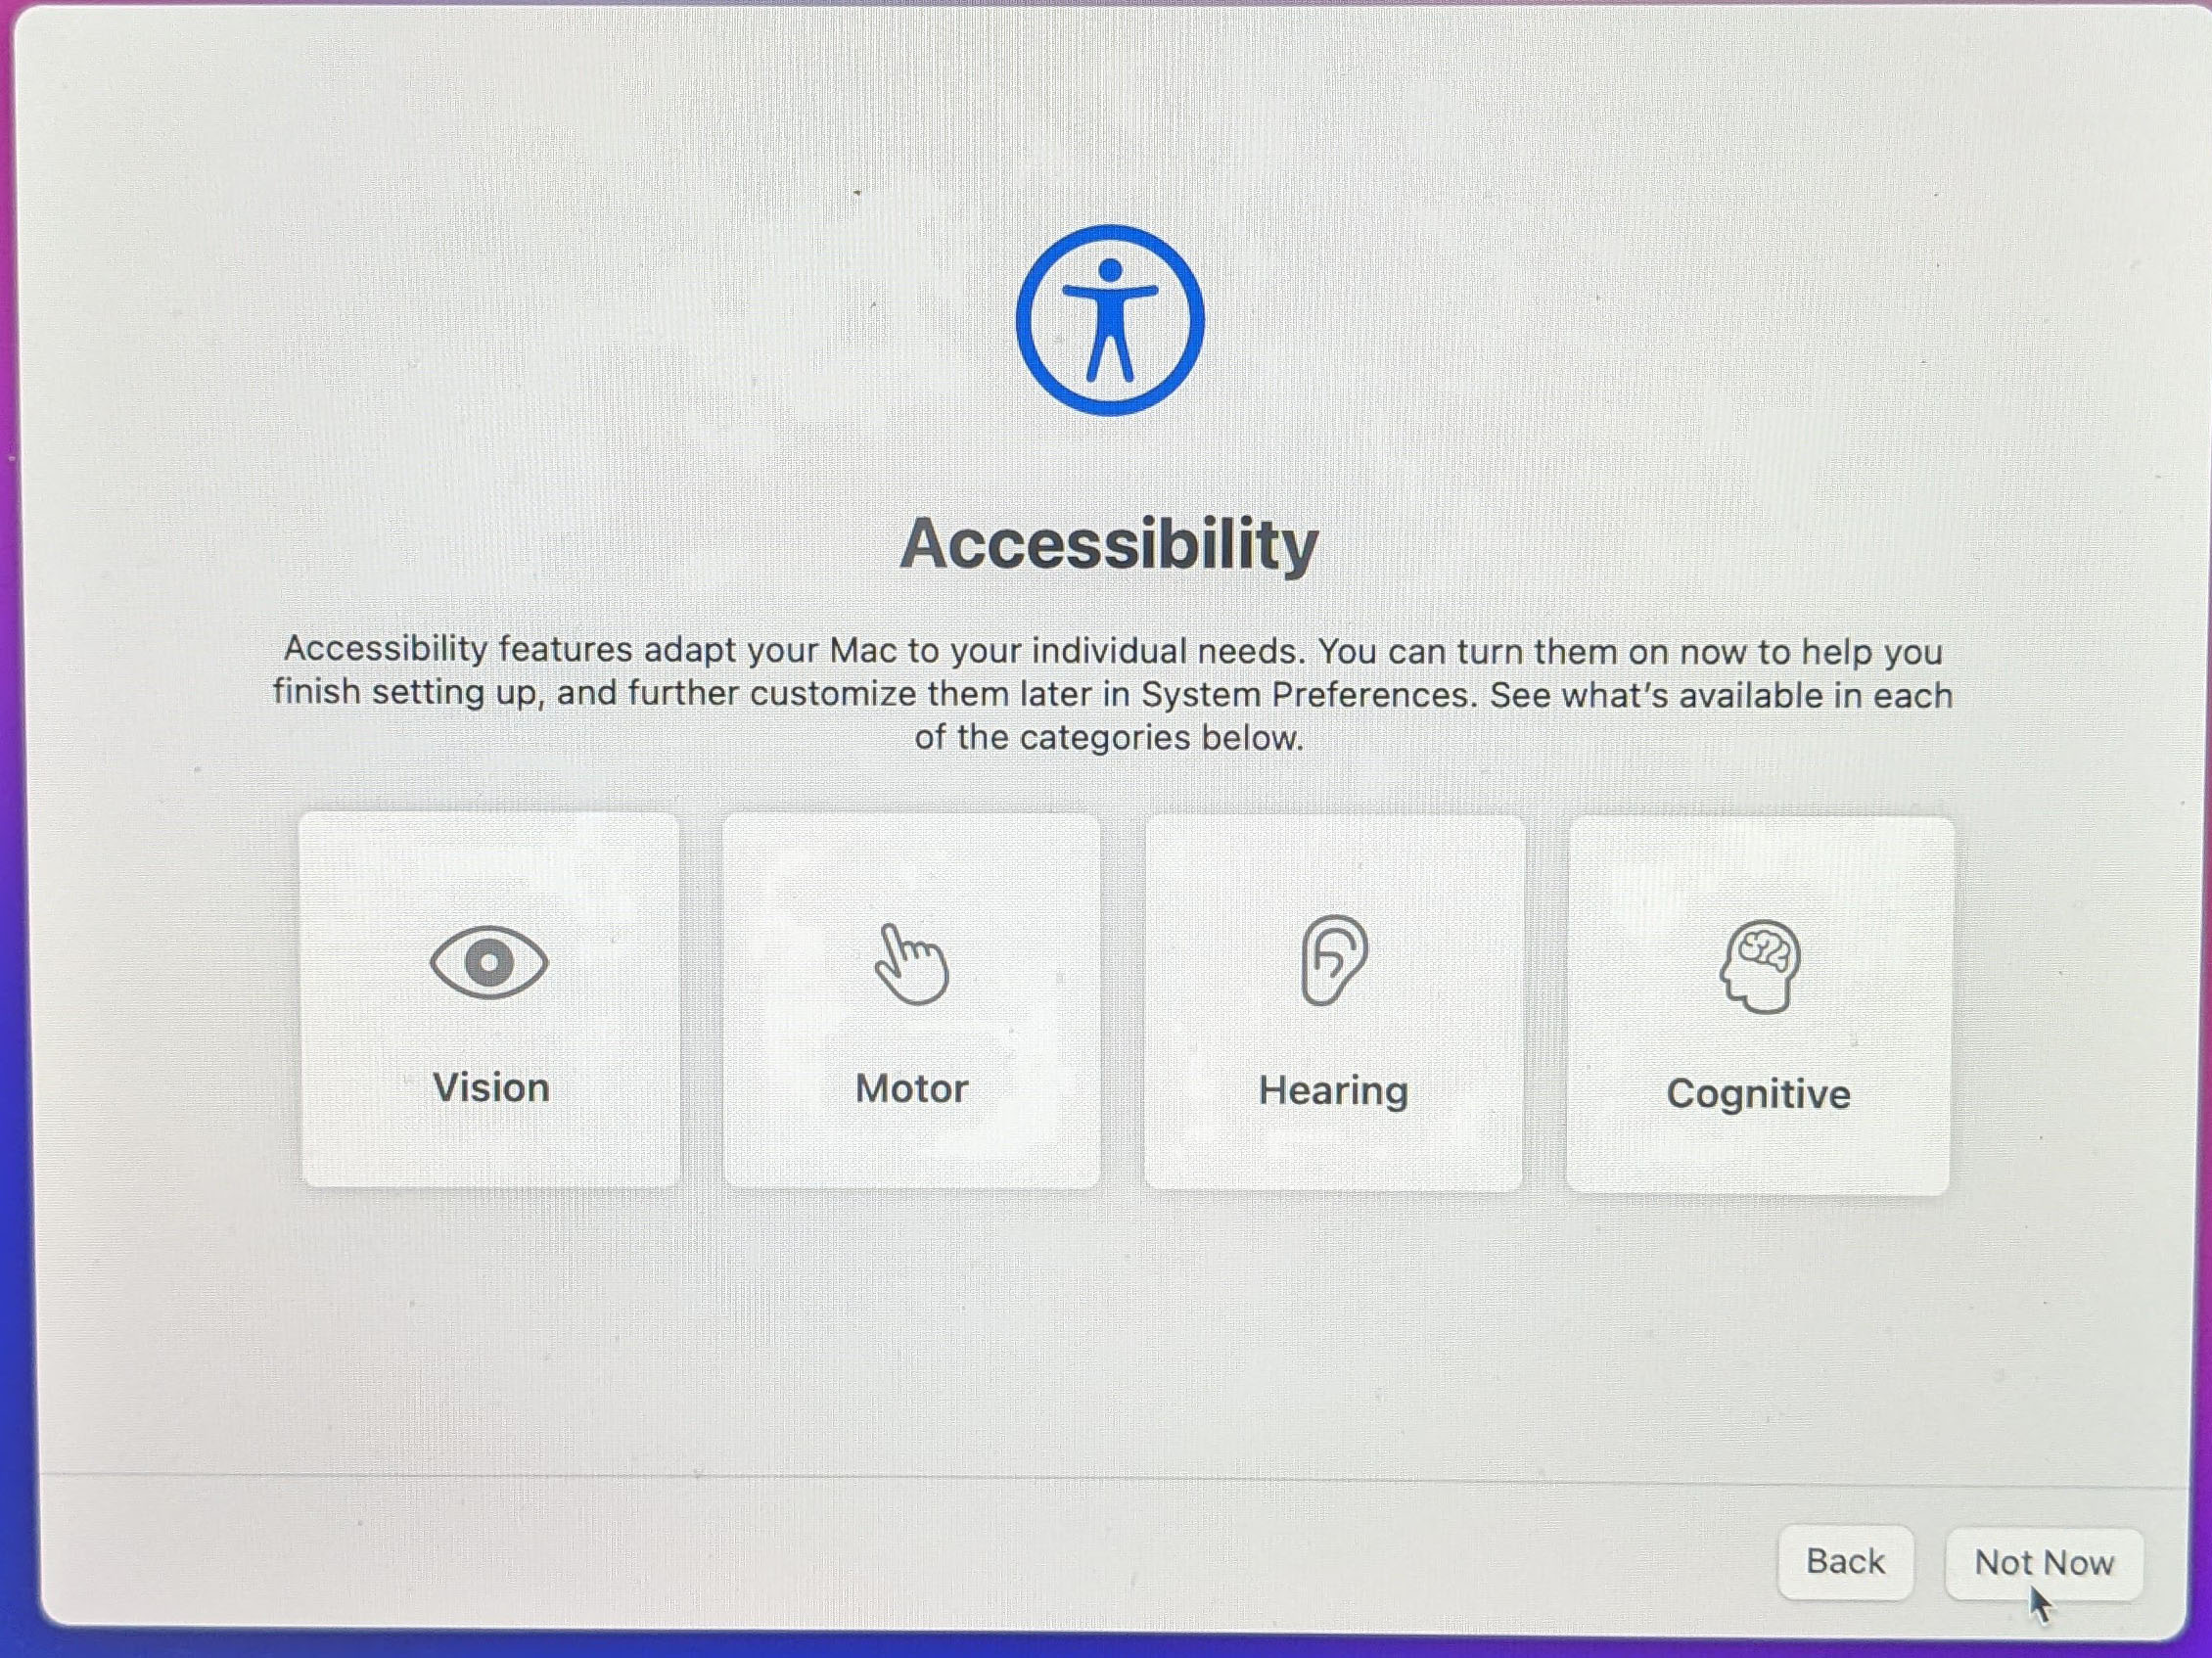
You will now see "Accessibility". If you have accessibility needs, please explore this section. Otherwise, click Continue.
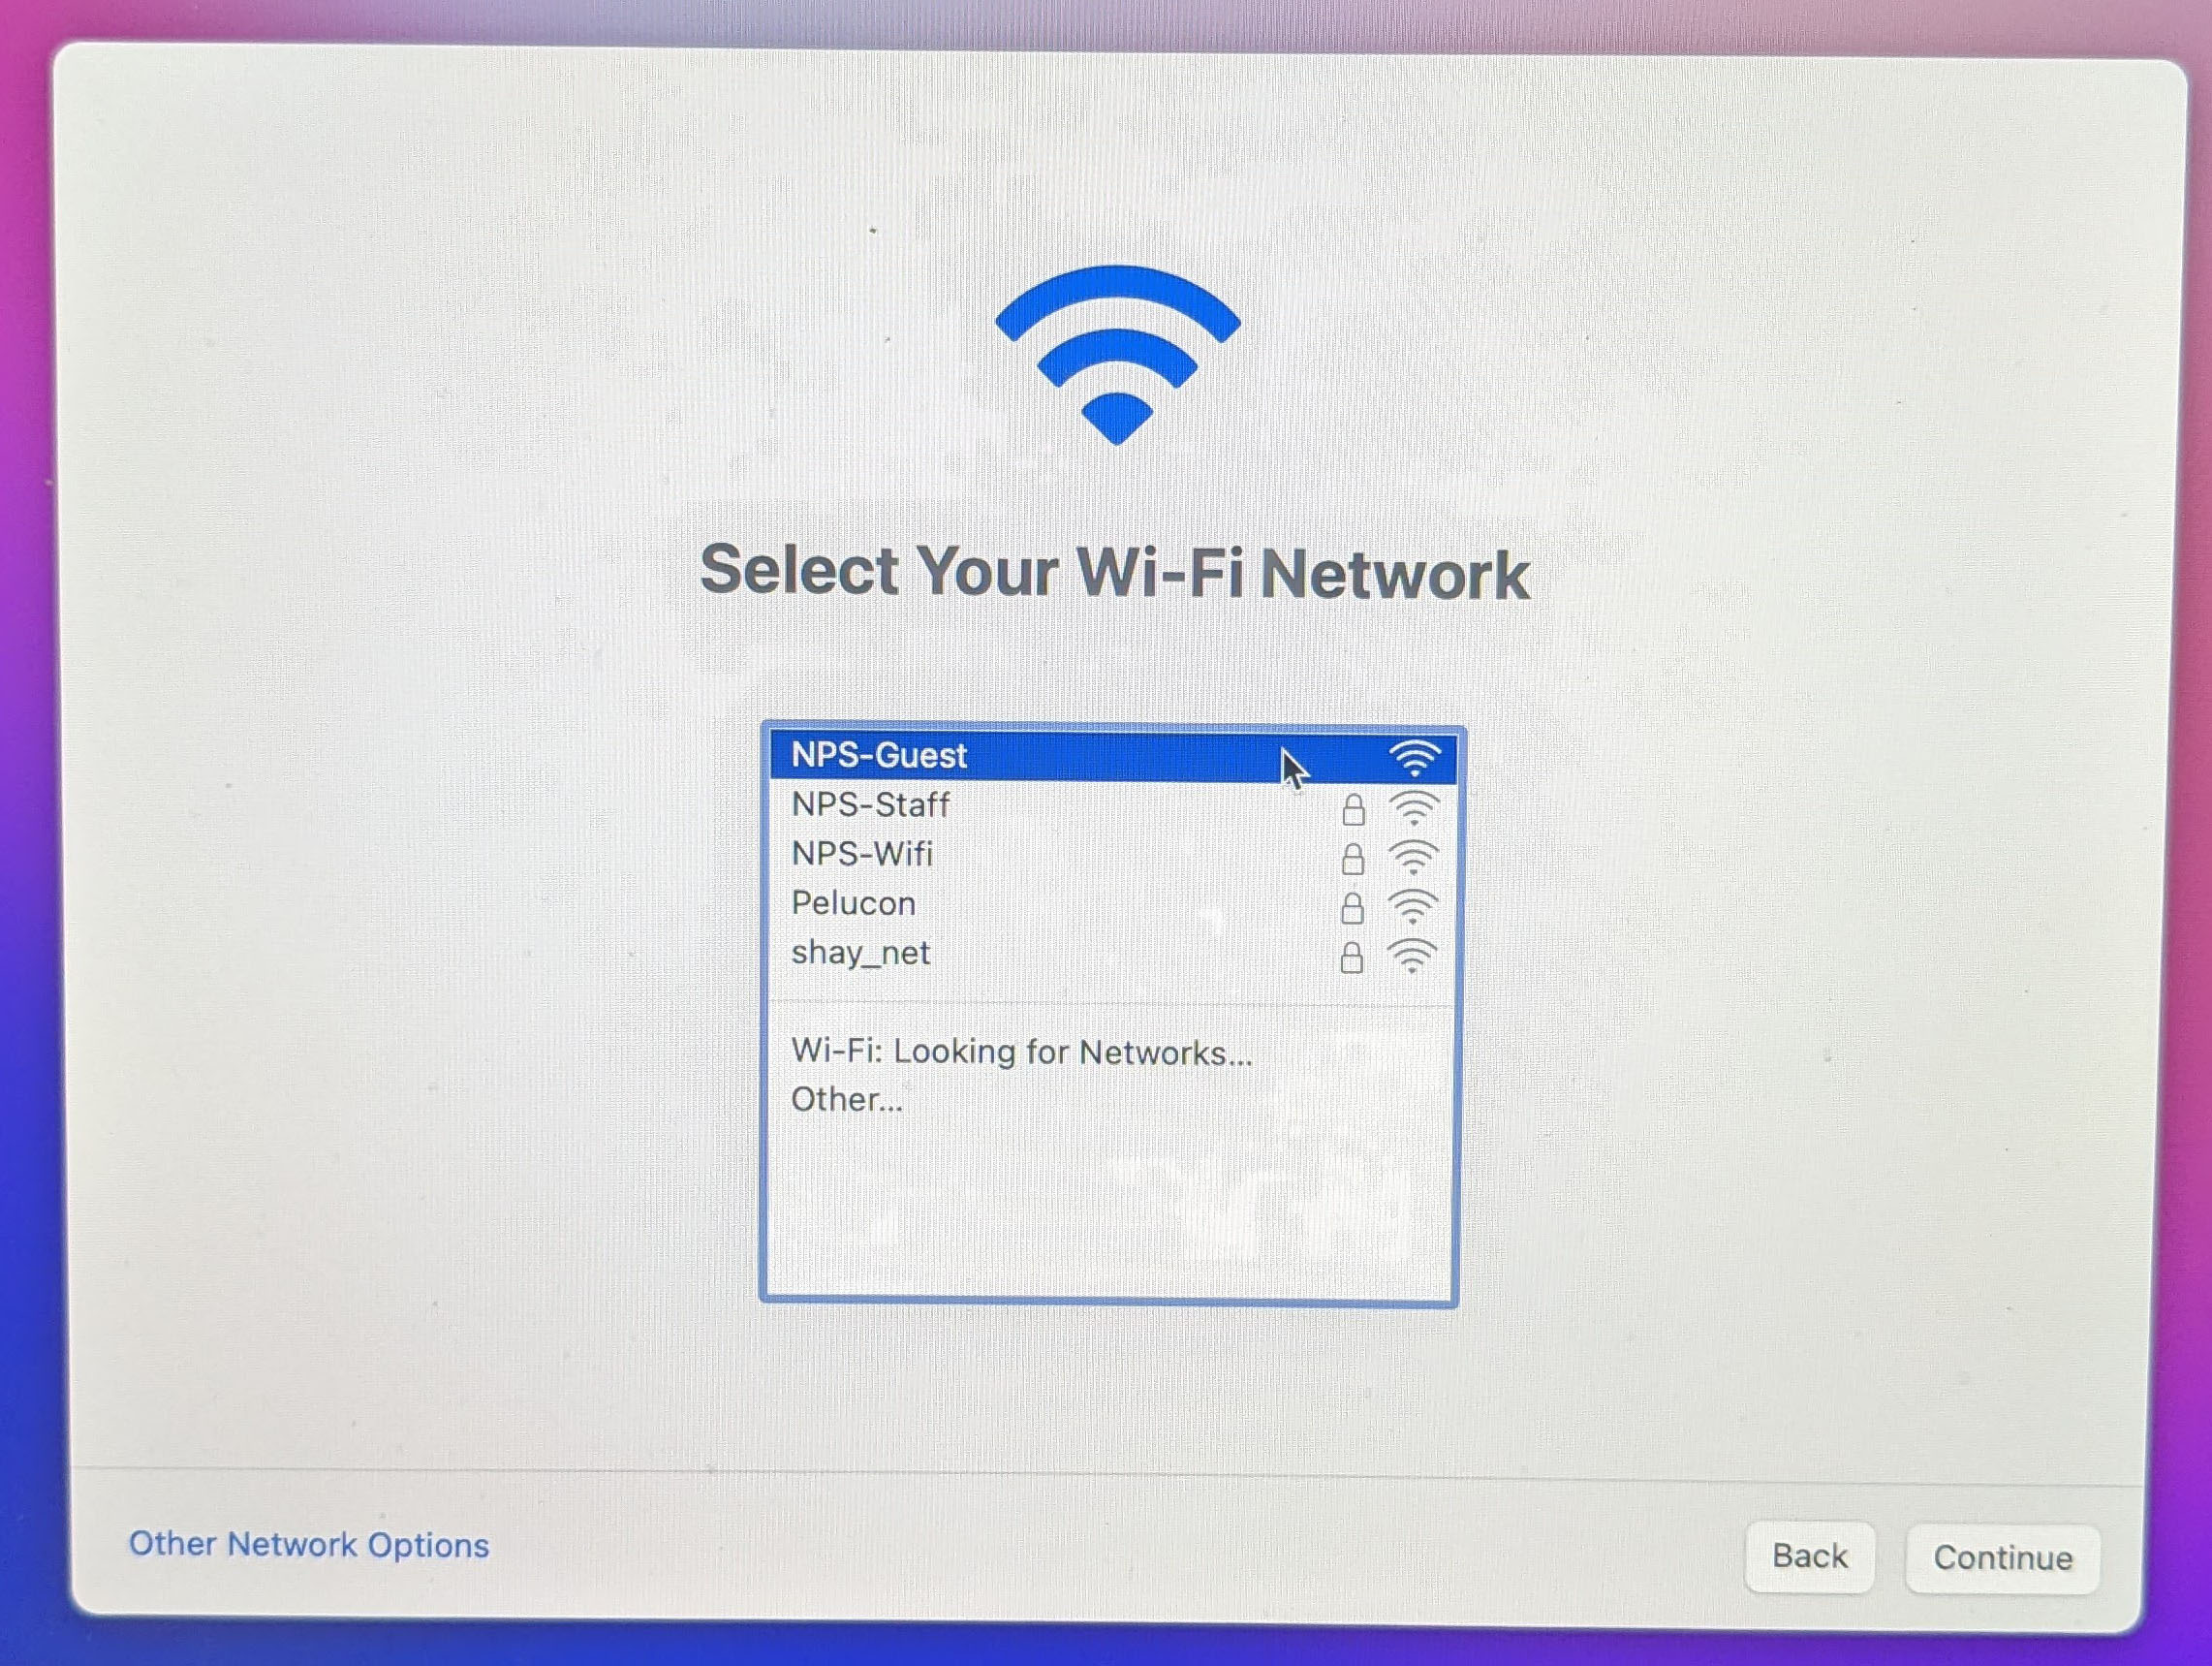
Under "Select Your Wi-fi Network" select NPS-Guest and hit Continue.
After your computer enrolls, it will automatically switch from NPS-Guest to one of our managed networks.
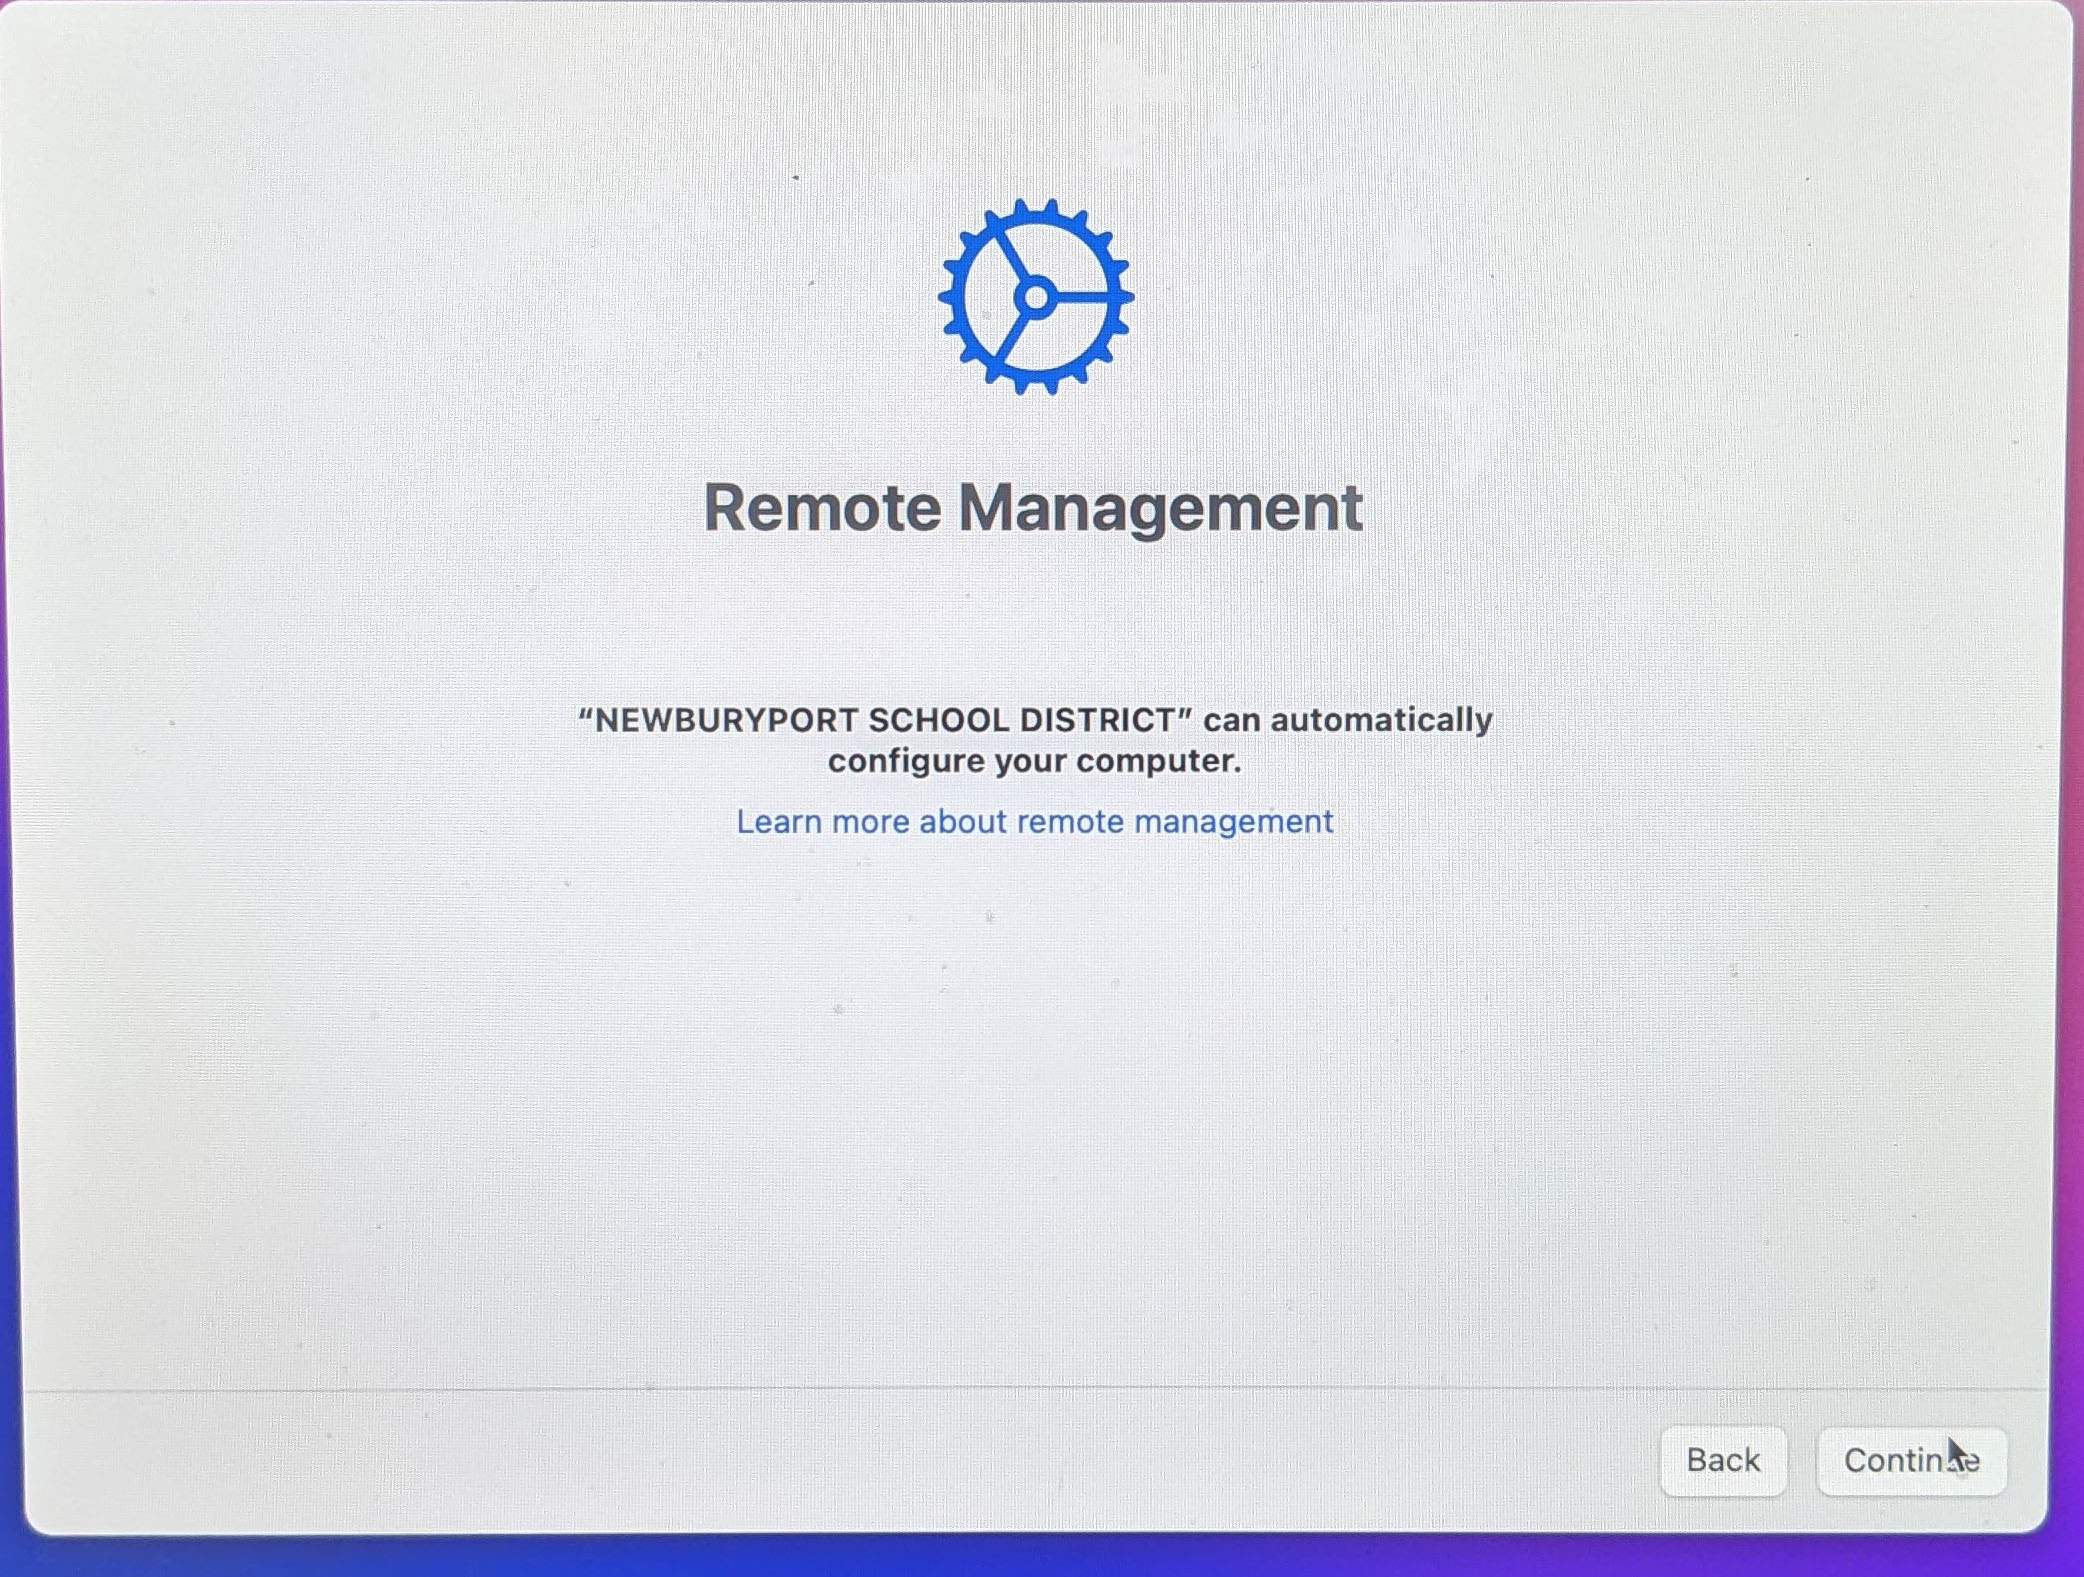
After a short wait, you will see the "Remote Management" screen. Click Continue.
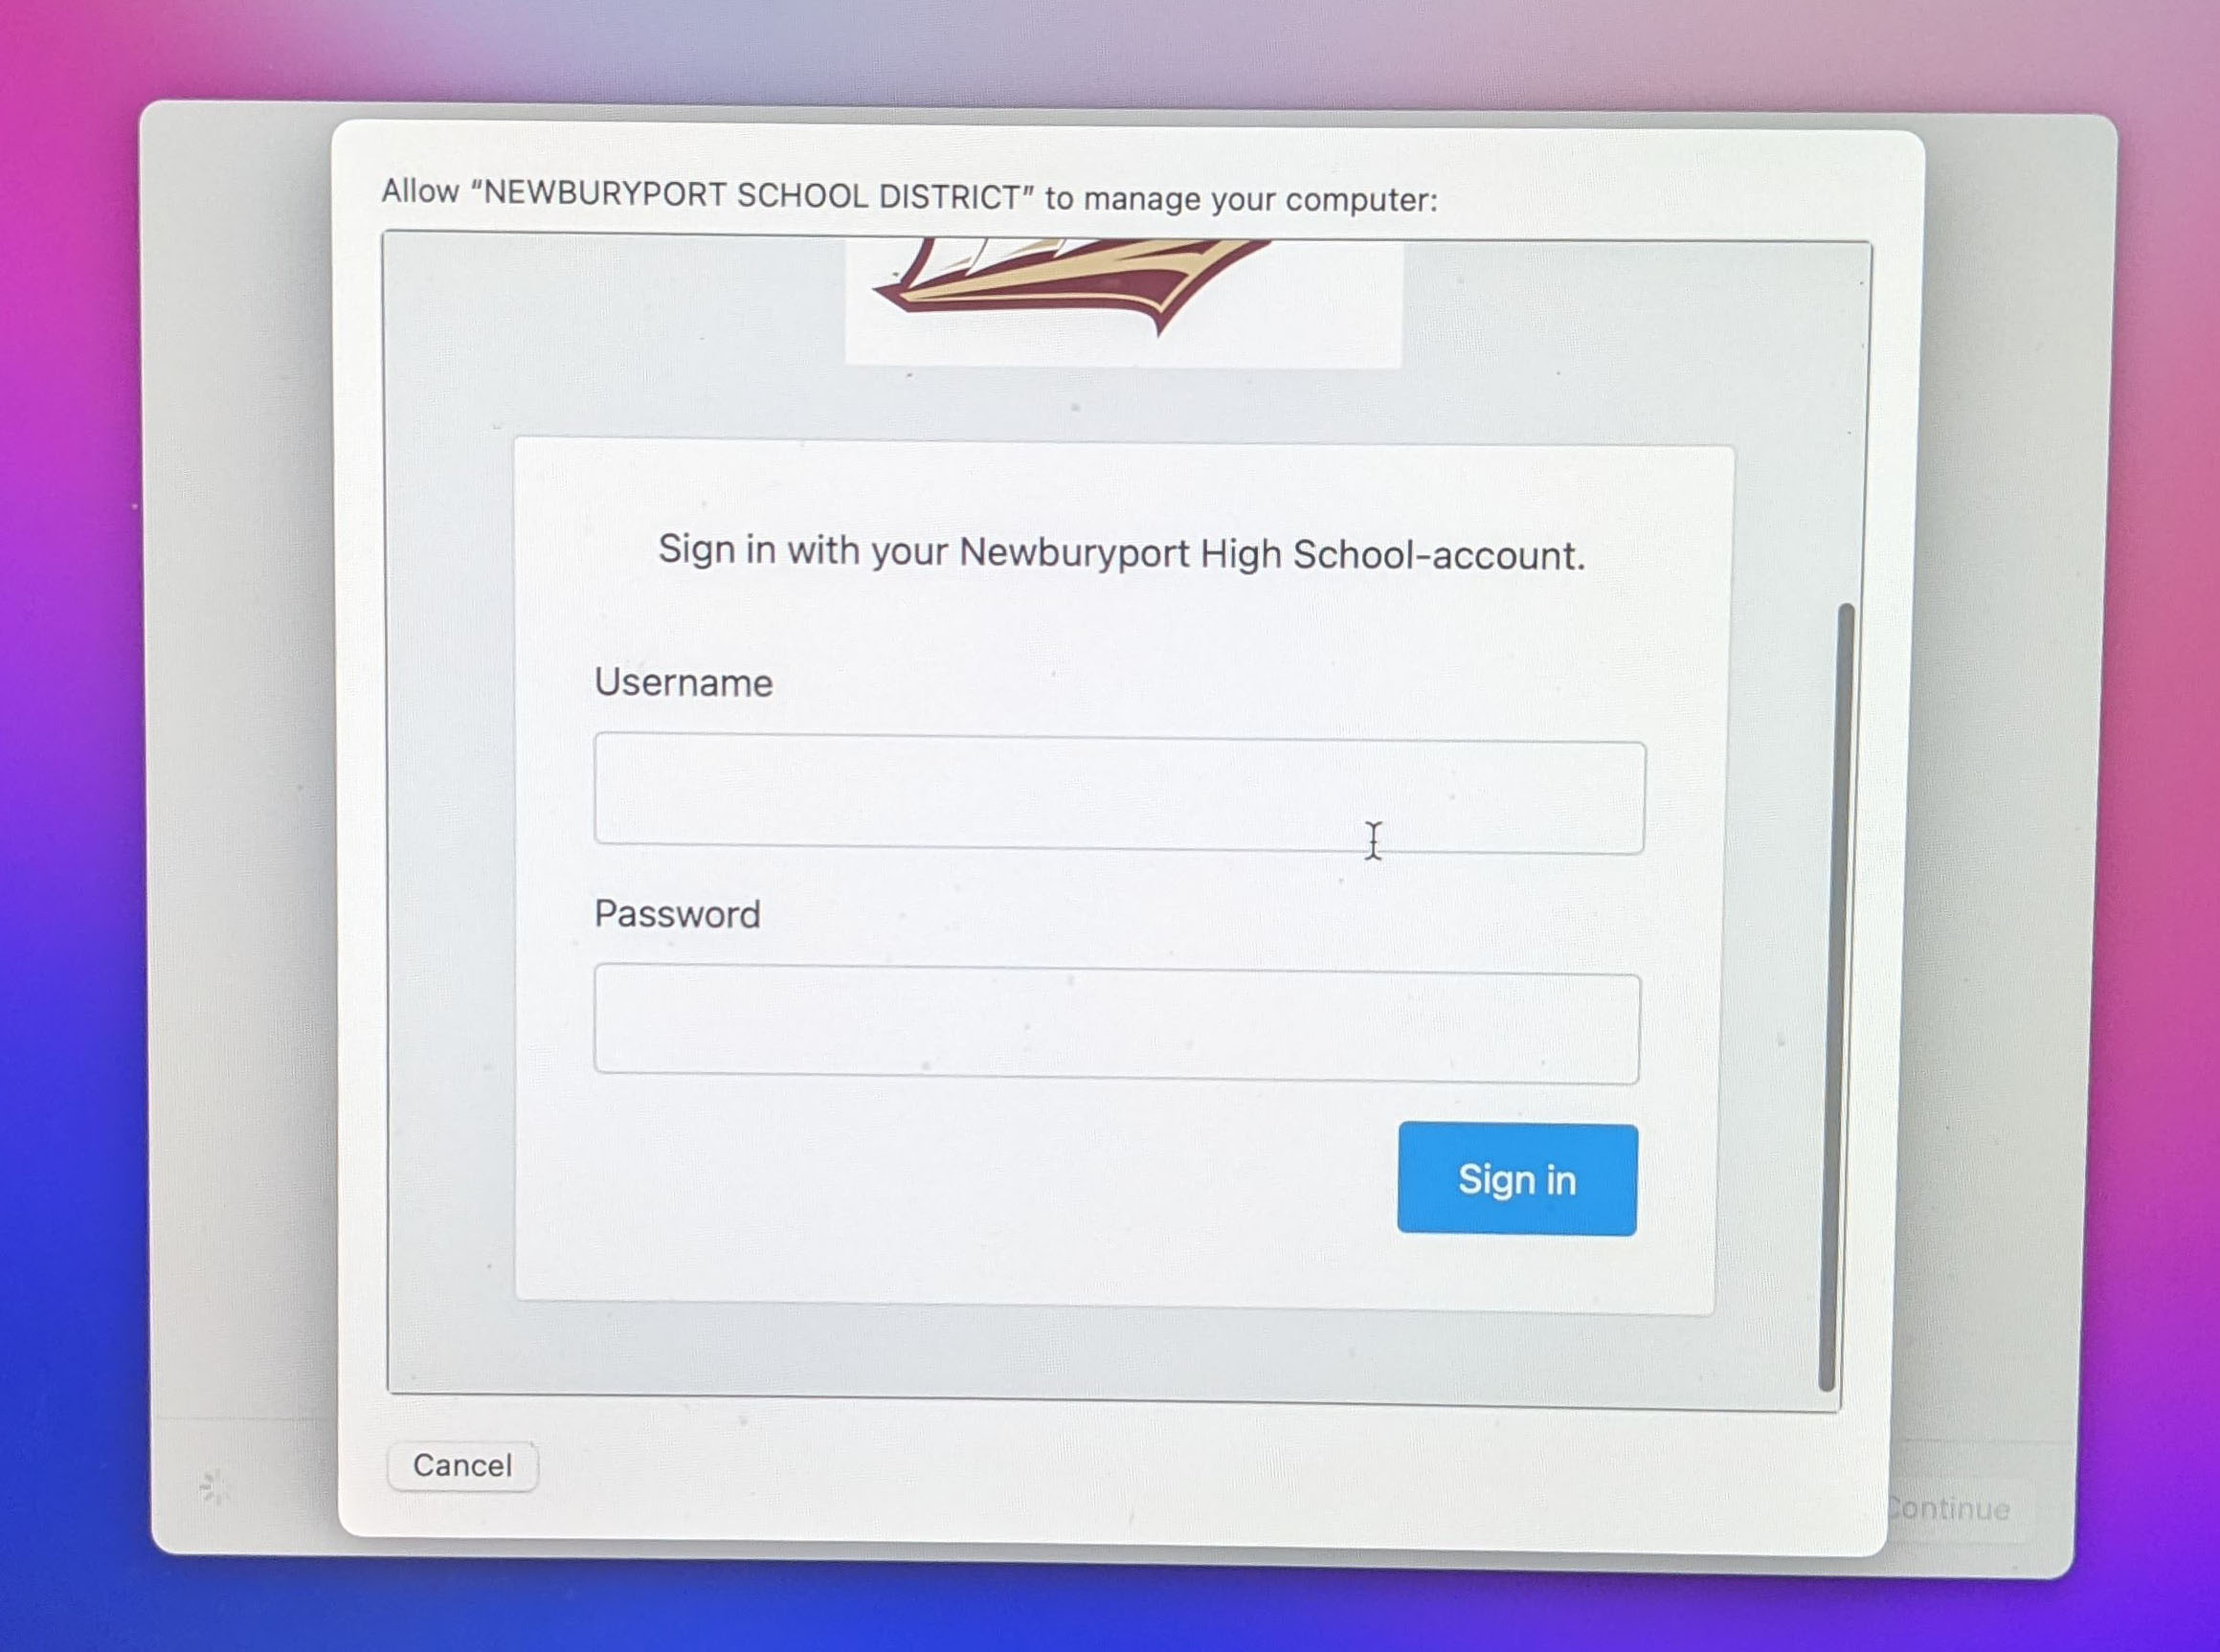
After a few moments, you will a sign-in screen.
Use two fingers on the touchpad to scroll down to see the Username and Password fields.
Enter your Username and Password. These are the same credentials you use for PCs in the district, school Chromebooks, and your email. However, please make sure you are not entering your full email address.
Click Sign in.
You will then see a screen stating "Your enrollment profile is ready!".
Click Enroll this device.

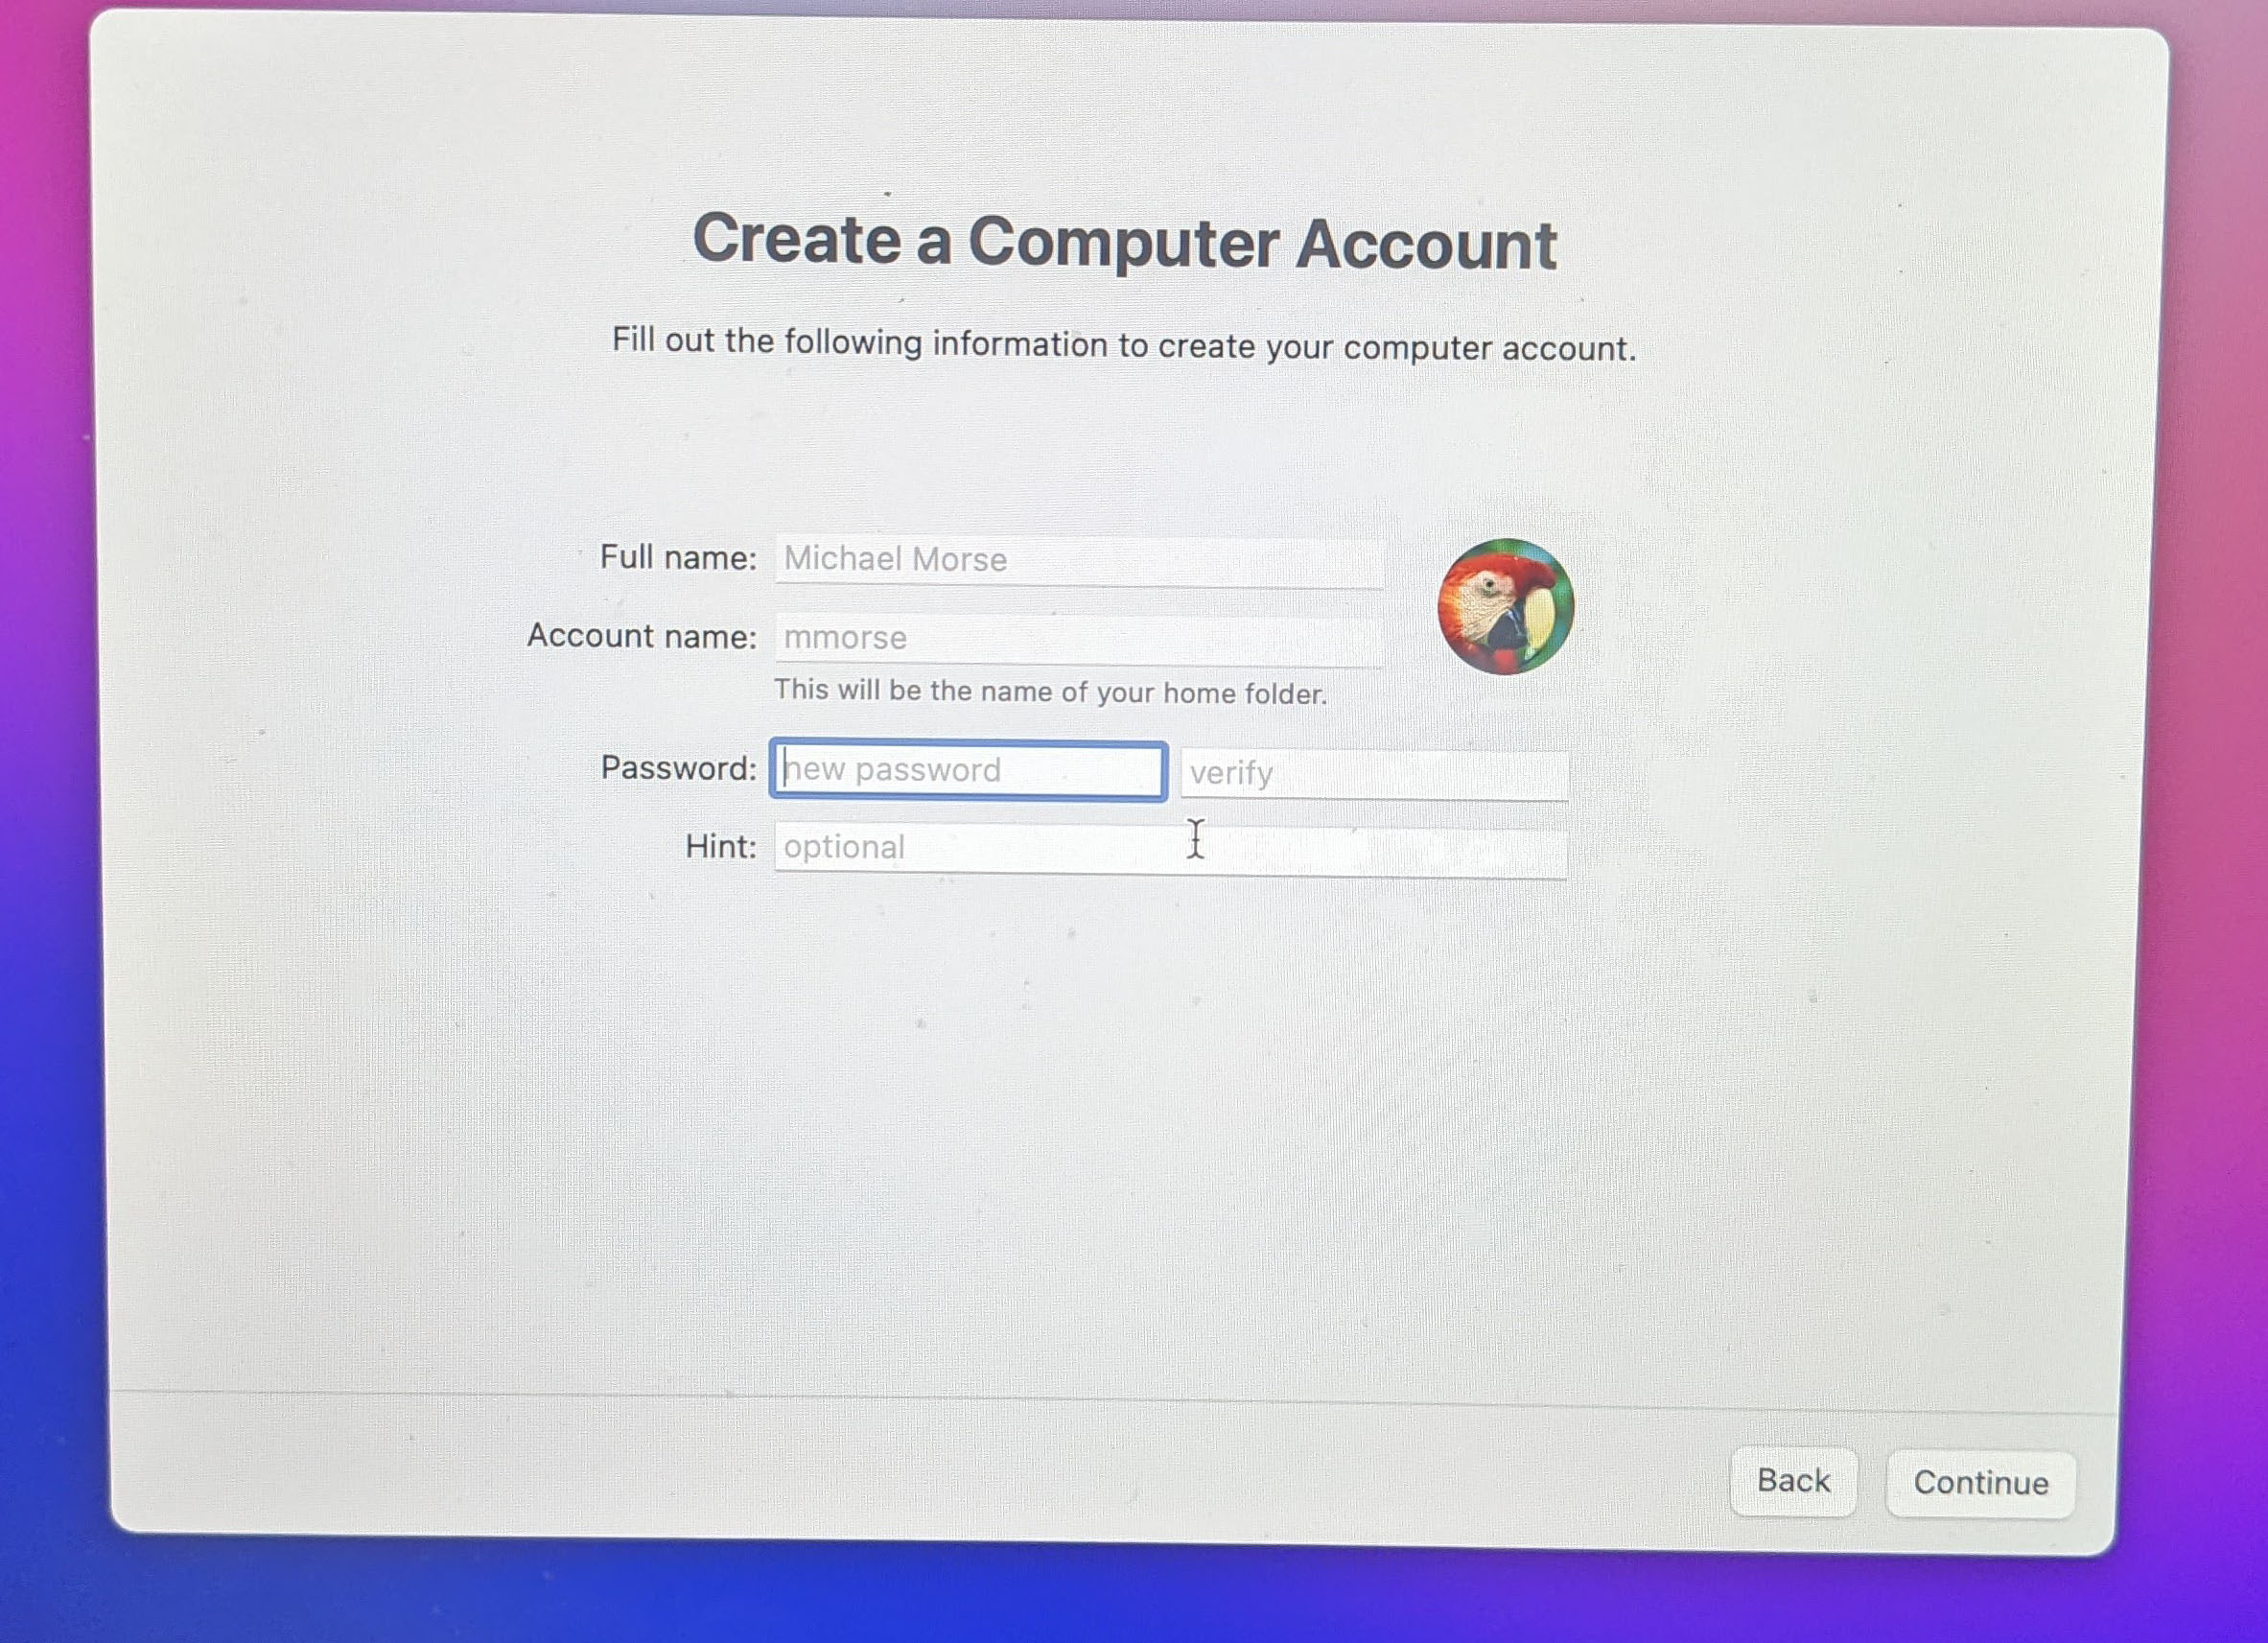
On this screen please fill out your computer password. IT IS IMPORTANT THIS BE THE SAME AS THE PASSWORD YOU JUST ENTERED TO ENROLL. Please enter the password twice to confirm and click Continue.
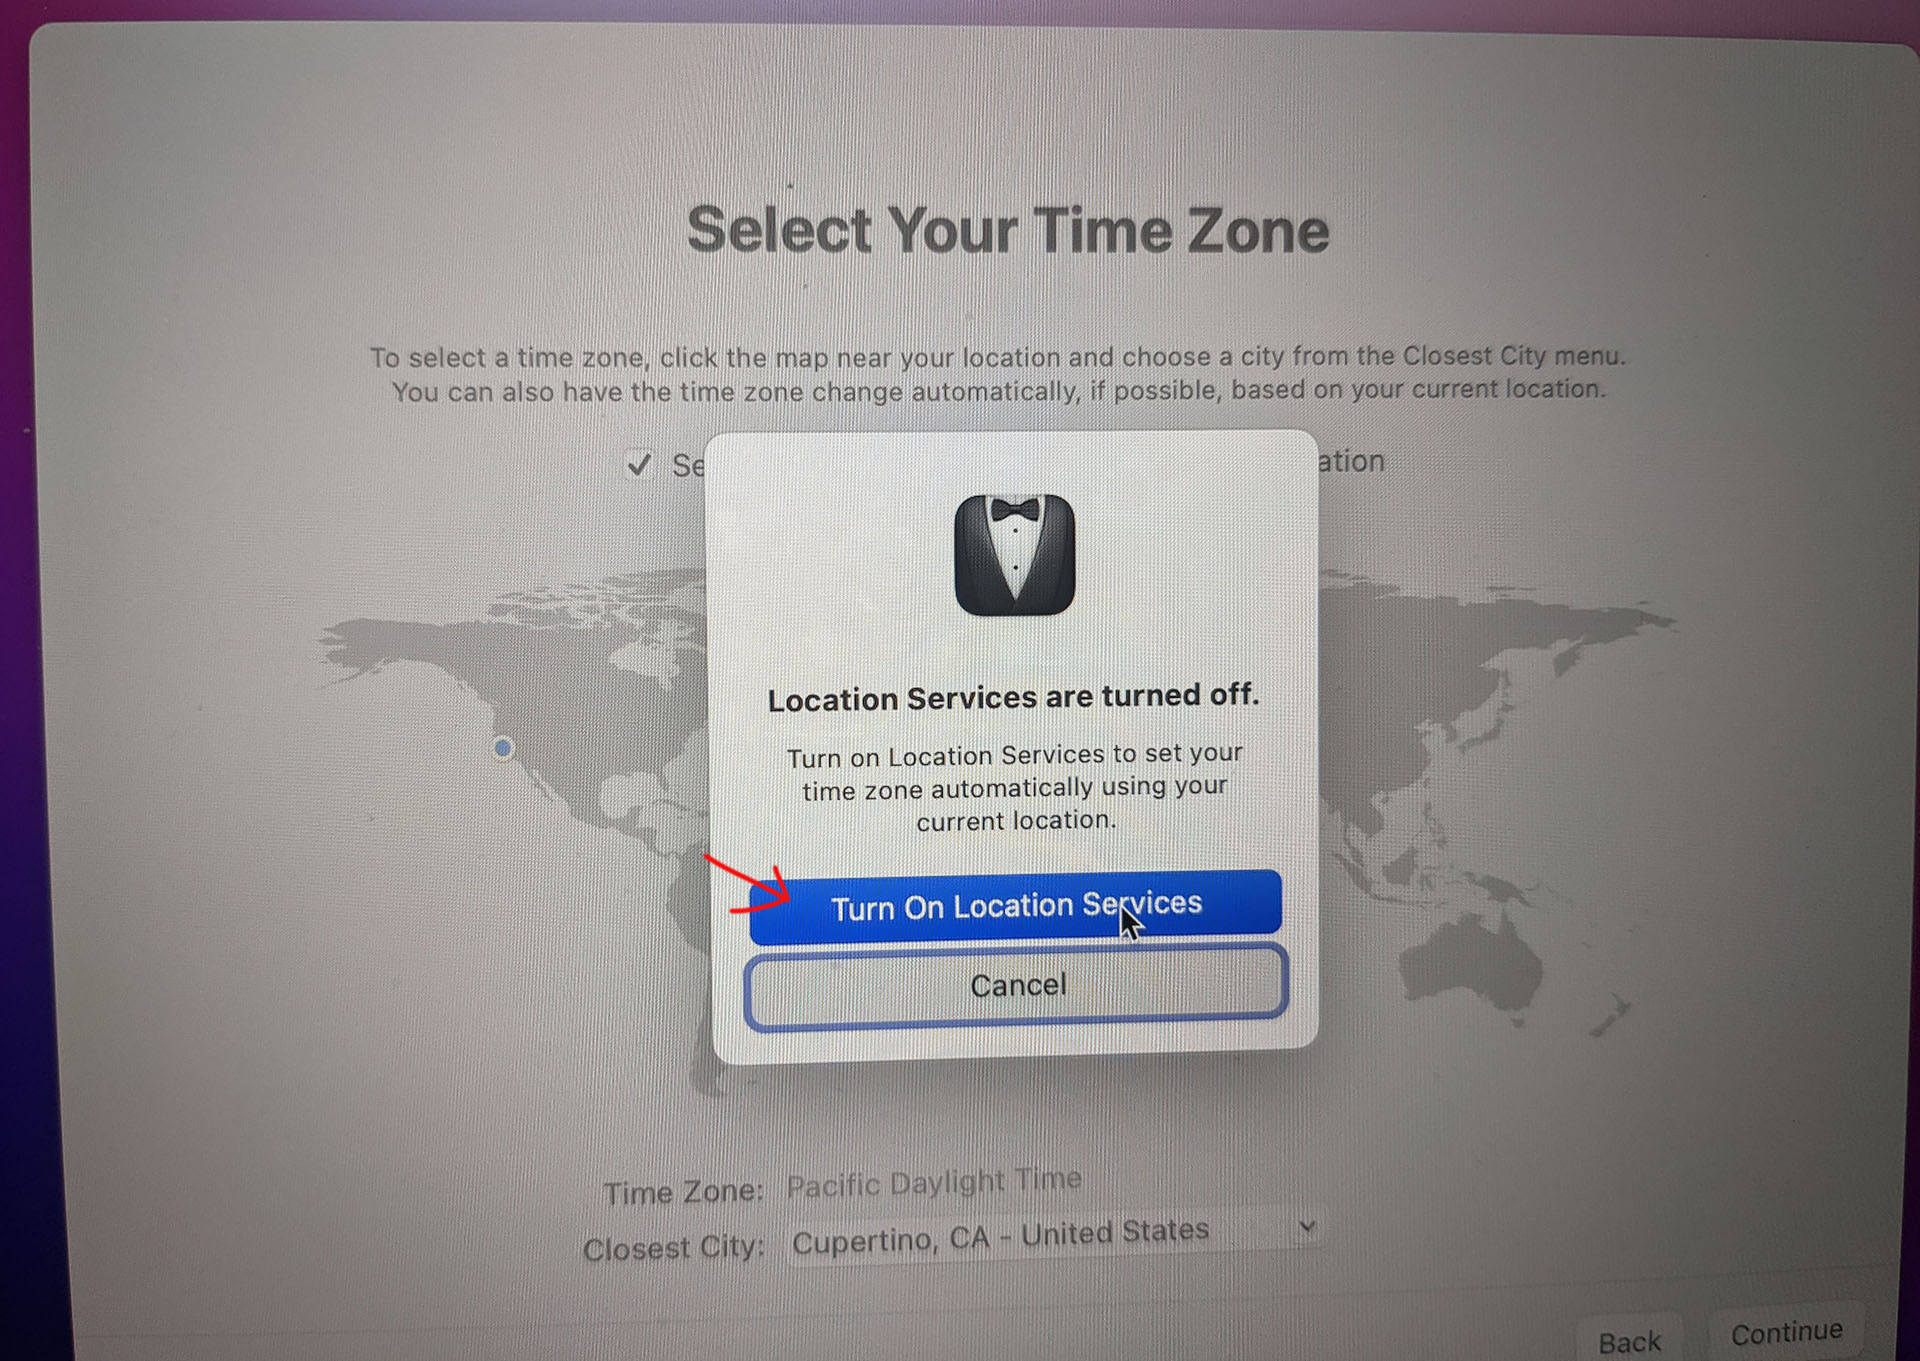
Lastly, on this screen click Set Time Zone Automatically using current location.

When Prompted Enable location services.
After a short wait you will be presented with your desktop screen. You are enrolled! Feel free to start using the computer.
The default software package will install over the next hour, this includes Microsoft Office, Google Chrome, Google Drive, and mac specific tools we will explain in detail elsewhere in the wiki. Feel free to use your computer while these steps finish up.